
Spybot Search & Destroy WalkthroughHow to Use Spybot - Search & Destroy Double click on the Spybot - Search & Destroy icon, which
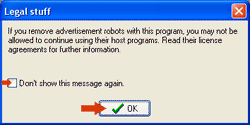
should be located on your desktop. You will now see a dialog box that says Legal Stuff
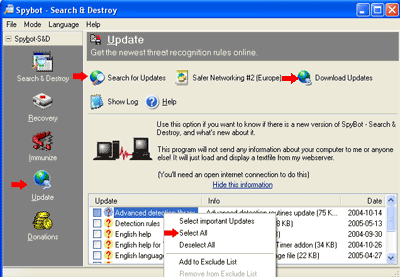
**Note** You need to be connected to the internet to do the update.
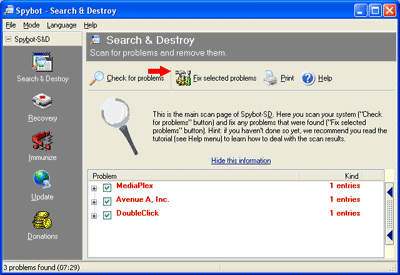
To start the scan, click on the Search & Destroy icon on the left hand side of the screen, then click on Check for problems This will now start the Spybot scan.
Once the scan has completed, you will see the results at the bottom
of the screen.
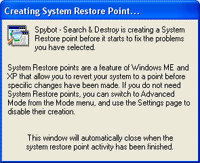
If you have Windows ME or Windows XP install, Spybot will automatically
create a System Restore Point.
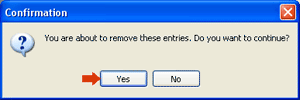
You should now see the Delete Confirmation box. Click on Yes to remove the objects selected.
Once all the objects have been removed, click on the OK button.
You can now close the program We recommend that you run the Spybot scan every week. |
||||||||
